
I choose the AWS Amplify for deploying OpenAPI Static Website.
It is very simple.
Step 1. Create a Repo

I have only 2 files in my repo.
- index.html
- api.yml
You can follow the official guide.
<!DOCTYPE html>
<html lang="en">
<head>
  <meta charset="utf-8" />
  <meta name="viewport" content="width=device-width, initial-scale=1" />
  <meta name="description" content="SwaggerUI" />
  <title>SwaggerUI</title>
  <link rel="stylesheet" href="https://unpkg.com/swagger-ui-dist@5.11.0/swagger-ui.css" />
</head>
<body>
<div id="swagger-ui"></div>
<script src="https://unpkg.com/swagger-ui-dist@5.11.0/swagger-ui-bundle.js" crossorigin></script>
<script>
  window.onload = () => {
    window.ui = SwaggerUIBundle({
      url: './api.yml',
      dom_id: '#swagger-ui',
    });
  };
</script>
</body>
</html>
This is my index.html file.
Step 2. Create Amplify Projects
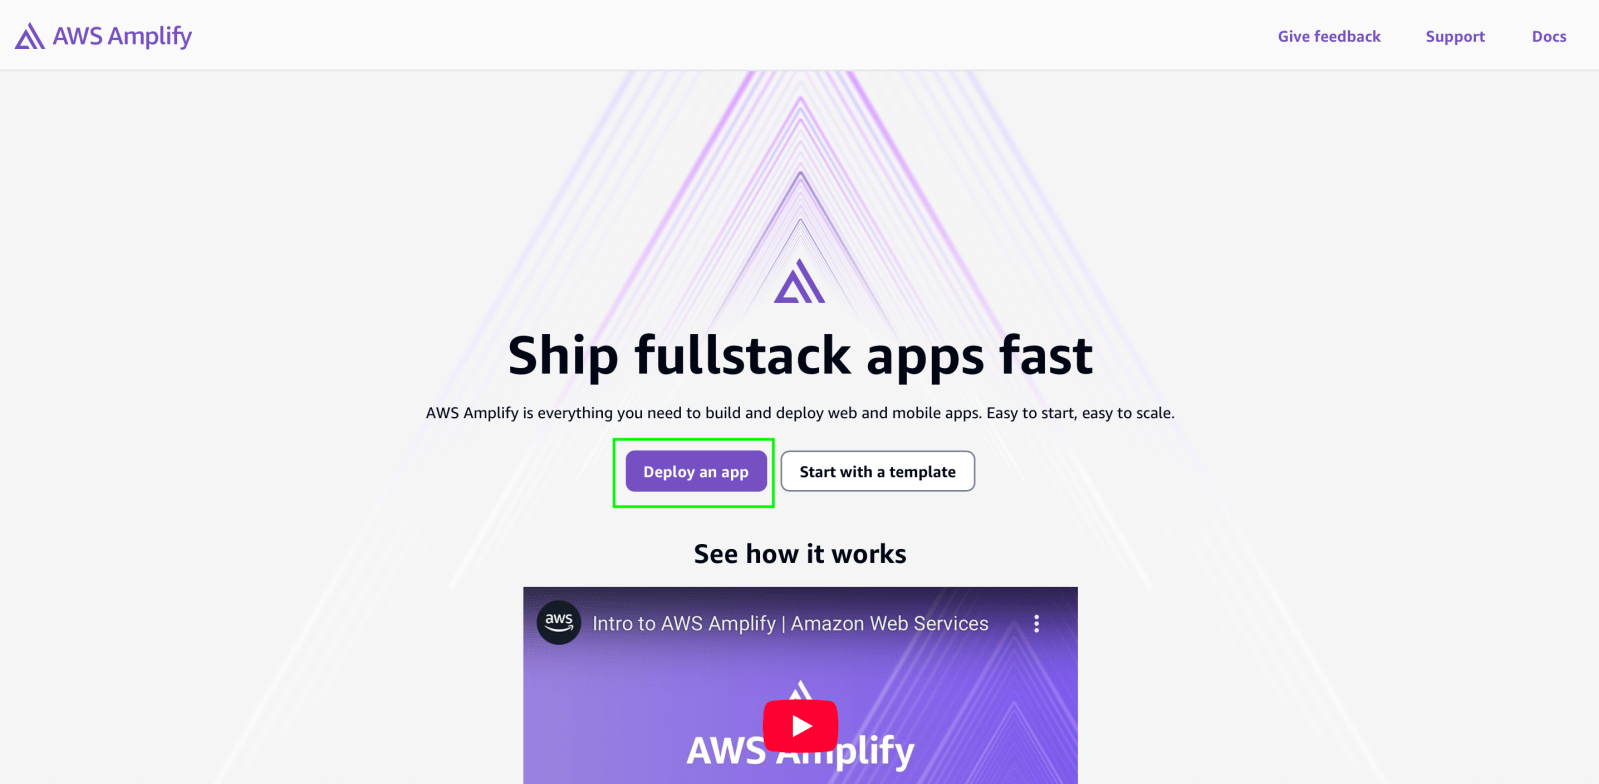

Login AWS, Search Amplify and Create a new App.
- Don’t select template (e.g, Next.js, Due, Angular and Vite. We don’t need it)
And Select your GitHub Repository and Branch. (You don’t need to make your Repo as Public, Private Repo also is working fine)
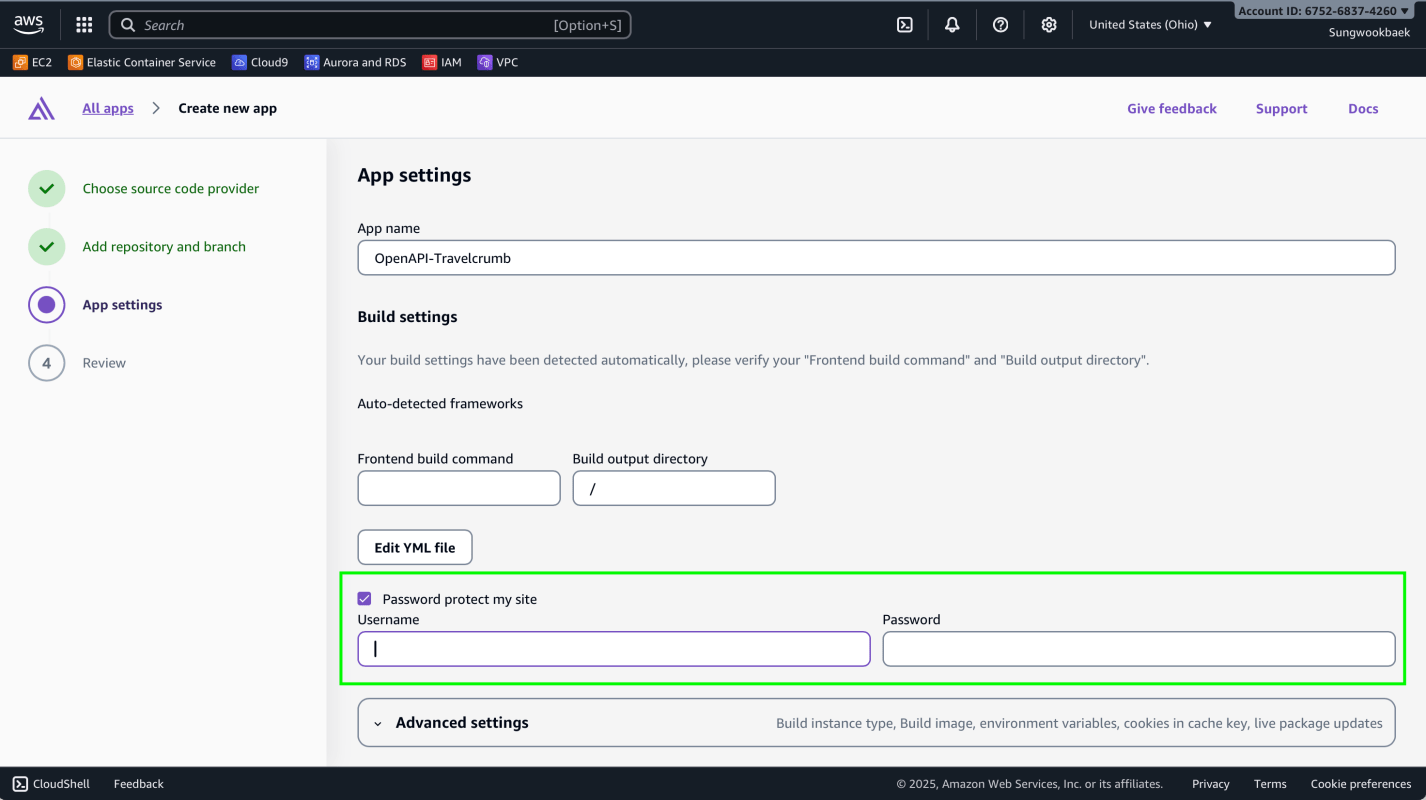
Protect your site if you want
- Set an Username and Password

Ok, that’s all. Click Save and deploy!
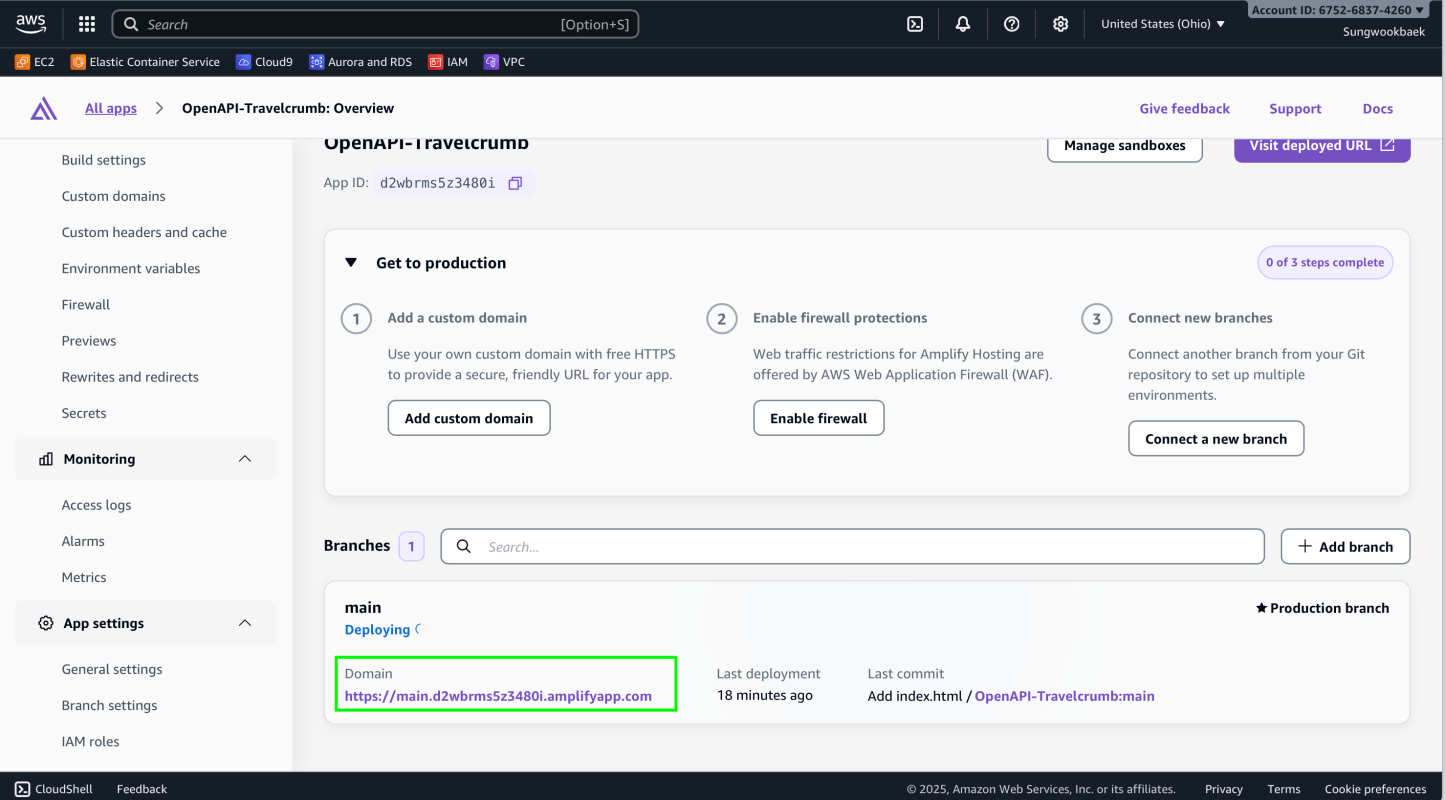
Click Monitoring and check your Domain. Open this url.

If you set Username and Password, You must Sign In to access your Website
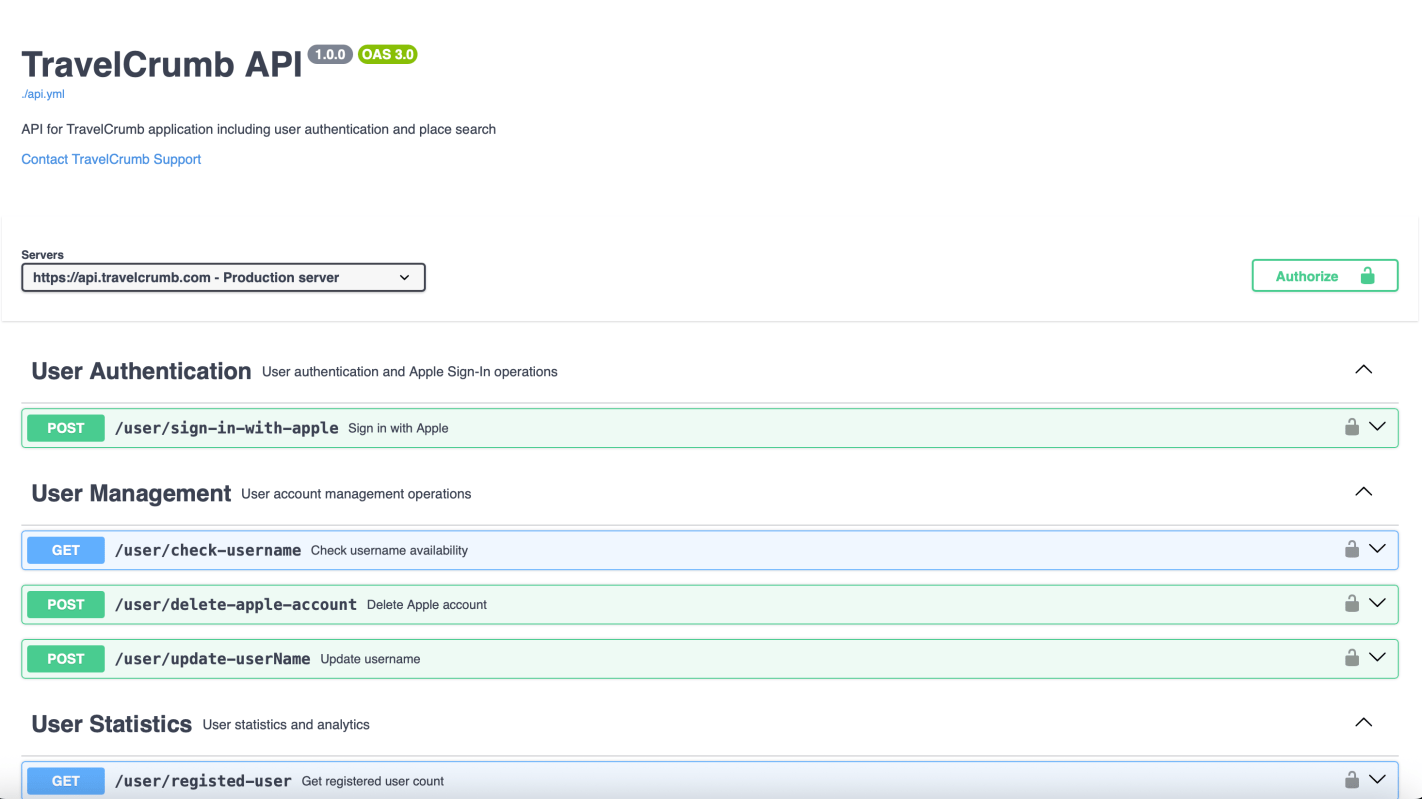
All done, Your OpenAPI Document Site is Live now!
Step 3. Setup Domain
If you want to set your custom domain for your website, follow this guidelines

I recommend Route53. If your domain already registered in Route53, setup custom domain is very easy.

Enter your subdomains. And Click Add domain button.

It takes 2-3 minutes. Just wait a bit. You will access your static website using your subdomain.
Conclusion
Using Amplify is super simple to deploy the static website. You don’t need to extra setup. When your branch has updated, amplify will automatically detect that changes and deploy it.
Next topic, I’ll share how to verify OpenAPI spec file using IBM OpenAPI Validator. https://github.com/IBM/openapi-validator

Leave a comment