
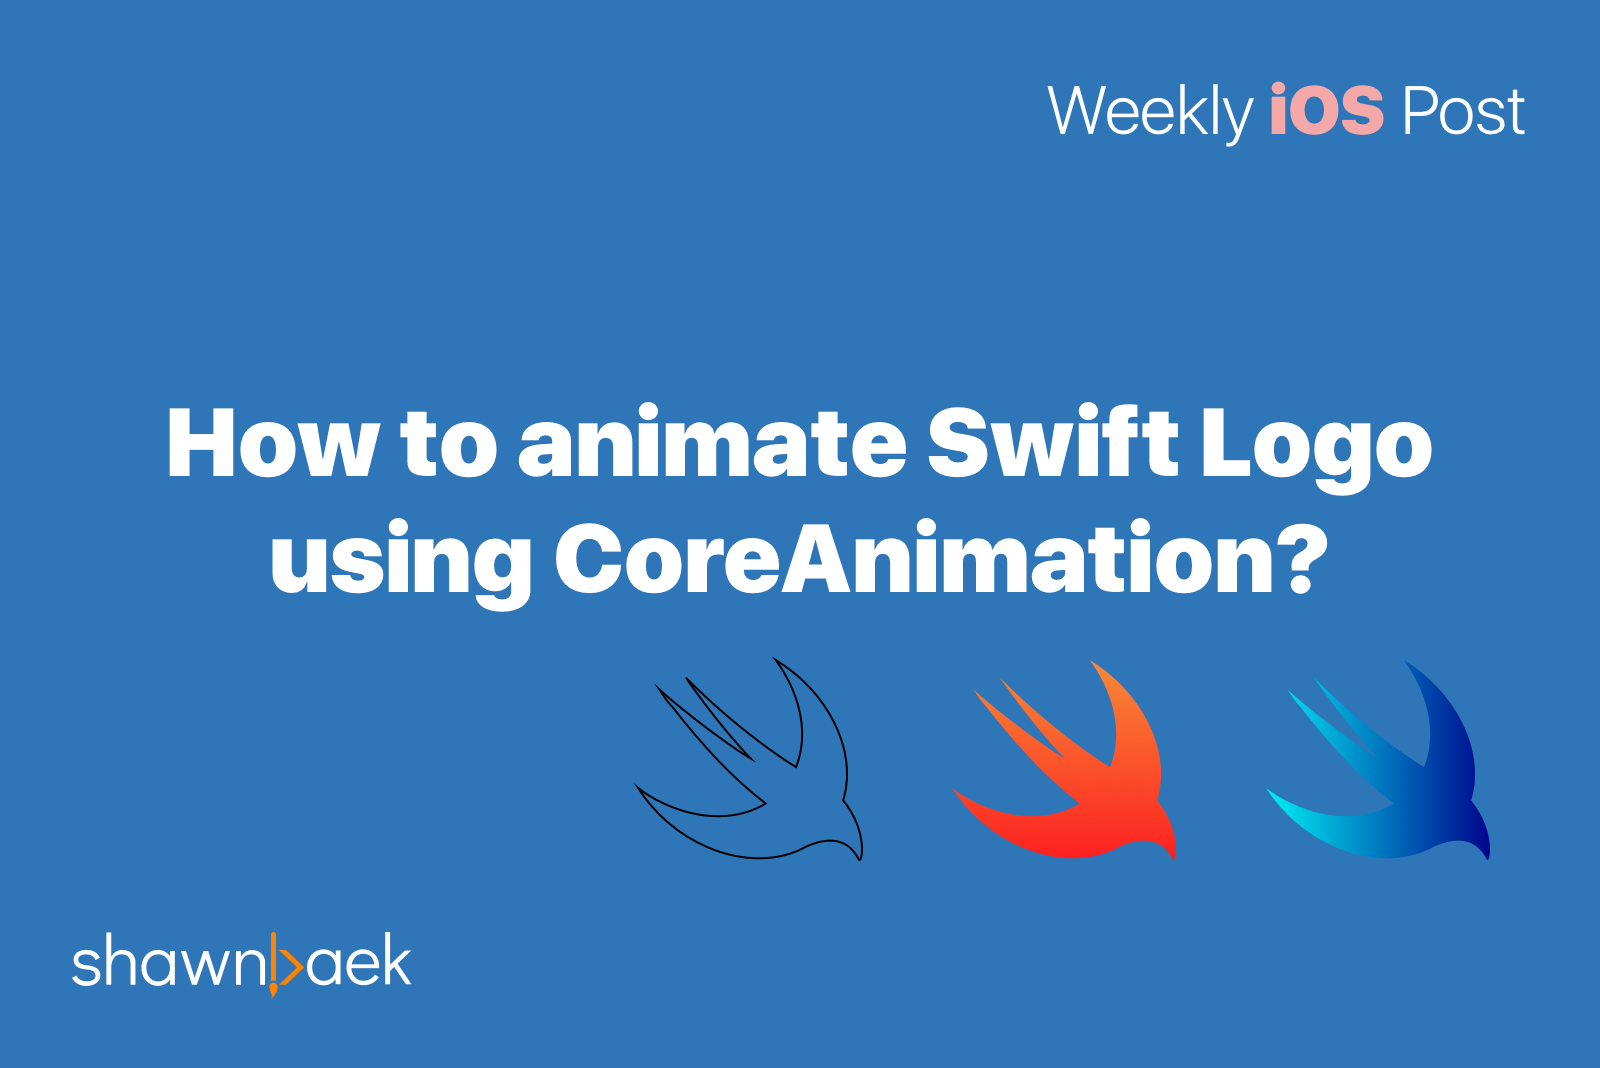
I wrote a Behind the scene of delightful animation it is about Animation patterns in modern iOS Apps. In this post, I’ll introduce how to animate path using CoreAnimation.
Before we start coding, we need to prepare the vector image like an SVG and then convert it to UIBeizierpath.
SVG Image
SVG acronym is Scalable Vector Graphics developed by W3C. Unfortunately, iOS does not support the SVG format. So We need to convert it to UIBeizierpath.


Look at path tag. Each character has the meaning of a drawing command. Uppercase uses absolute position, and lowercase uses relative position.
M = moveto
L = lineto
H = horizontal lineto
V = vertical lineto
C = curveto
S = smooth curveto
Q = quadratic Bézier curve
T = smooth quadratic Bézier curveto
A = elliptical Arc
Z = closepath
We can convert it to UIBeizierPath.
move(to: CGPoint)
addCurve(to: CGPoint, controlPoint1: CGPoint, controlPoint2: CGPoint)
addQuadCurve(to: CGPoint, controlPoint: CGPoint)
addLine(to: CGPoint)
addArc(withCenter: CGPoint, radius: CGFloat, startAngle: CGFloat, endAngle: CGFloat, clockWise: Bool)
How to convert SVG to UIBeizierPath?
Here is an example of Swift Logo.

Let’s convert it to UIBeizierPath step by step.
<path d="m29.885 33.047c-4.667 2.696-11.084 2.973-17.54 0.206-5.2273-2.224-9.5646-6.117-12.345-10.565 1.3346 1.112 2.8916 2.002 4.5598 2.78 6.6672 3.125 13.333 2.911 18.024 0.008-0.003-0.003-0.005-0.005-0.007-0.008-6.673-5.116-12.345-11.789-16.571-17.238-0.8901-0.8898-1.5574-2.002-2.2247-3.0029 5.1159 4.671 13.235 10.565 16.126 12.234-6.116-6.451-11.566-14.458-11.344-14.236 9.676 9.787 18.685 15.348 18.685 15.348 0.298 0.168 0.528 0.308 0.713 0.433 0.195-0.496 0.366-1.011 0.51-1.545 1.557-5.672-0.222-12.123-4.115-17.461 9.008 5.4495 14.347 15.681 12.122 24.245-0.058 0.231-0.121 0.459-0.189 0.683 0.026 0.031 0.052 0.063 0.078 0.096 4.448 5.561 3.225 11.455 2.669 10.343-2.413-4.722-6.88-3.278-9.151-2.32z"/>

StartPoint is 29.88, 33.05
//First drawing command//m29.885 33.047move(to: CGPoint(x: 29.885, y: 33.05)
The m command is easy. Just move the point using move(to: CGPoint).

Second point is 12.34, 33.25. It is calculated by startPoint x: 29.885 – 17.54 = 12.35 and startPoint: y: 33.05 + 0.206 = 33.25.
//Second drawing command//c-4.667 2.696-11.084 2.973-17.54 0.206addCurve(to: CGPoint(x: 12.35, y: 33.25), controlPoint1: CGPoint(x: 25.22, y: 35.74), controlPoint2: CGPoint(x: 18.8, y: 36.02))
Look at the c character. The c is meaning that curveTo is a relative position. It takes 3 points, which are controlPoint1, controlPoint2, and currentPoint. I was very confused that how can it be converted from (-4.667, 2.696), (-11.084, 2.973), and (-17.54, 0.206) to (12.35, 33.25), (25.22, 35.74), and (18.8, 36.02).

Let’s look again. We take 3 points, which are controlPoint1, controlPoint2, and current Position.


The startPosition is CGPoint(x: 29.885, y: 33.05). And It was added curveTo relative to startPosition.
CurrentPosition(x: 12.35, y: 33.25) is calculated by 29.885 – 17.54 = 12.35 and 33.05 + 0.206 = 33.25
ControlPoint1(x: 25.22, y: 35.74) is calculated by 29.885 – 4.667 = 25.22 and 33.05 + 2.697 = 35.74
ControlPoint2(x: 18.8, y: 36.02) is calculated by 29.885 – 11.084 = 18.8 and 33.05 + 2.973 = 36.02
And next position is also same. Just take a 3 position and calculate it relative to currentPosition(x: 12.35, y: 33.25) which is updated after add curveTo position. Here is the full path of Swift Logo.
extension UIBezierPath {static var swift: UIBezierPath = { let bezierPath = UIBezierPath() bezierPath.move(to: CGPoint(x: 29.88, y: 33.05)) bezierPath.addCurve(to: CGPoint(x: 12.35, y: 33.25), controlPoint1: CGPoint(x: 25.22, y: 35.74), controlPoint2: CGPoint(x: 18.8, y: 36.02)) bezierPath.addCurve(to: CGPoint(x: 0, y: 22.69), controlPoint1: CGPoint(x: 7.12, y: 31.03), controlPoint2: CGPoint(x: 2.78, y: 27.14)) bezierPath.addCurve(to: CGPoint(x: 4.56, y: 25.47), controlPoint1: CGPoint(x: 1.33, y: 23.8), controlPoint2: CGPoint(x: 2.89, y: 24.69)) bezierPath.addCurve(to: CGPoint(x: 22.58, y: 25.48), controlPoint1: CGPoint(x: 11.23, y: 28.59), controlPoint2: CGPoint(x: 17.89, y: 28.38)) bezierPath.addCurve(to: CGPoint(x: 22.58, y: 25.47), controlPoint1: CGPoint(x: 22.58, y: 25.47), controlPoint2: CGPoint(x: 22.58, y: 25.47)) bezierPath.addCurve(to: CGPoint(x: 6.01, y: 8.23), controlPoint1: CGPoint(x: 15.9, y: 20.35), controlPoint2: CGPoint(x: 10.23, y: 13.68)) bezierPath.addCurve(to: CGPoint(x: 3.78, y: 5.23), controlPoint1: CGPoint(x: 5.12, y: 7.34), controlPoint2: CGPoint(x: 4.45, y: 6.23)) bezierPath.addCurve(to: CGPoint(x: 19.91, y: 17.46), controlPoint1: CGPoint(x: 8.9, y: 9.9), controlPoint2: CGPoint(x: 17.02, y: 15.79)) bezierPath.addCurve(to: CGPoint(x: 8.56, y: 3.23), controlPoint1: CGPoint(x: 13.79, y: 11.01), controlPoint2: CGPoint(x: 8.34, y: 3)) bezierPath.addCurve(to: CGPoint(x: 27.25, y: 18.57), controlPoint1: CGPoint(x: 18.24, y: 13.01), controlPoint2: CGPoint(x: 27.25, y: 18.57)) bezierPath.addCurve(to: CGPoint(x: 27.96, y: 19.01), controlPoint1: CGPoint(x: 27.55, y: 18.74), controlPoint2: CGPoint(x: 27.78, y: 18.88)) bezierPath.addCurve(to: CGPoint(x: 28.47, y: 17.46), controlPoint1: CGPoint(x: 28.16, y: 18.51), controlPoint2: CGPoint(x: 28.33, y: 18)) bezierPath.addCurve(to: CGPoint(x: 24.36, y: 0), controlPoint1: CGPoint(x: 30.03, y: 11.79), controlPoint2: CGPoint(x: 28.25, y: 5.34)) bezierPath.addCurve(to: CGPoint(x: 36.48, y: 24.25), controlPoint1: CGPoint(x: 33.36, y: 5.45), controlPoint2: CGPoint(x: 38.7, y: 15.68)) bezierPath.addCurve(to: CGPoint(x: 36.29, y: 24.93), controlPoint1: CGPoint(x: 36.42, y: 24.48), controlPoint2: CGPoint(x: 36.36, y: 24.7)) bezierPath.addCurve(to: CGPoint(x: 36.37, y: 25.02), controlPoint1: CGPoint(x: 36.32, y: 24.96), controlPoint2: CGPoint(x: 36.34, y: 24.99)) bezierPath.addCurve(to: CGPoint(x: 39.04, y: 35.37), controlPoint1: CGPoint(x: 40.82, y: 30.59), controlPoint2: CGPoint(x: 39.59, y: 36.48)) bezierPath.addCurve(to: CGPoint(x: 29.88, y: 33.05), controlPoint1: CGPoint(x: 36.62, y: 30.65), controlPoint2: CGPoint(x: 32.16, y: 32.09)) bezierPath.close() return bezierPath}()}
Let’s animating it.
Path Animation

PathAnimation
class ViewController: UIViewController { var swiftPath: UIBezierPath = .swift lazy var logoLayer: CAShapeLayer = { let logoLayer = CAShapeLayer() logoLayer.path = swiftPath.cgPath logoLayer.strokeEnd = 0 logoLayer.strokeStart = 0 logoLayer.lineWidth = 2 logoLayer.borderColor = UIColor.black.cgColor logoLayer.strokeColor = UIColor.black.cgColor logoLayer.fillColor = UIColor.white.cgColor logoLayer.position = CGPoint(x: 161, y: 247) return logoLayer }() override func viewDidLoad() { super.viewDidLoad() view.layer.addSublayer(logoLayer) startPathAnimation() } func startPathAnimation() { let pathAnimation = CABasicAnimation(keyPath: "strokeEnd") pathAnimation.fromValue = 0 pathAnimation.toValue = 1 pathAnimation.duration = 2 pathAnimation.isRemovedOnCompletion = false pathAnimation.fillMode = .forwards logoLayer.add(pathAnimation, forKey: "line") }}
Fill Color Animation

func startFillColorAnimation() { let fillColorAnimation: CABasicAnimation = CABasicAnimation( keyPath: "fillColor" ) fillColorAnimation.duration = 1 //Start Fill Color Animation after finishing path animation. fillColorAnimation.beginTime = CACurrentMediaTime() + 2 fillColorAnimation.fromValue = UIColor.clear.cgColor fillColorAnimation.toValue = UIColor.red.cgColor fillColorAnimation.fillMode = .forwards //Keep color after complete animation fillColorAnimation.isRemovedOnCompletion = false logoLayer.add(fillColorAnimation, forKey: "fill") }
Fill Gradient Color Animation
Unlike SVG, CAShapeLayer doen’t support gradient color. So We should use CAGradientLayer to fill the gradient color in Swift logo. I’ll show you how to change the gradient color from original orange gradient color of Swift logo to blue gradient color of SwiftUI logo.
let swiftUIColor: [CGColor] = [ UIColor(red: 0/255, green: 240/255, blue: 245/255, alpha: 1).cgColor, UIColor(red: 0/255, green: 5/255, blue: 140/255, alpha: 1).cgColor]let swiftColor: [CGColor] = [UIColor(red: 248/255, green: 138/255, blue: 54/255, alpha: 1).cgColor,UIColor(red: 253/255, green: 32/255, blue: 32/255, alpha: 1).cgColor]override func viewDidLoad() { super.viewDidLoad() view.layer.addSublayer(logoLayer) startPathAnimation() startFillColorAnimation() fillGradientColor(colors: swiftColor)}func fillGradientColor(colors: [CGColor]) { let gradient = CAGradientLayer(layer: logoLayer) gradient.frame = swiftPath.bounds gradient.colors = colors logoLayer.addSublayer(gradient)}

🤪 CAGradientLayer cover the CAShapeLayer.
To fix CAGradientLayer cover the Swift logo, We need to clip mask before addSublayer.
func fillGradientColor(colors: [CGColor]) { let gradient = CAGradientLayer(layer: logoLayer) gradient.frame = swiftPath.bounds gradient.colors = colors //Shape Mask! let shapeMask = CAShapeLayer() shapeMask.path = swiftPath.cgPath gradient.mask = shapeMask logoLayer.addSublayer(gradient)}

Tada~ 😎 Looks great!
Ok. Almost done! Let’s fill gradient color.
override func viewDidLoad() { super.viewDidLoad() view.layer.addSublayer(logoLayer) startPathAnimation() startFillColorAnimation() fillGradientColor(colors: [UIColor.clear.cgColor, UIColor.clear.cgColor])}func startPathAnimation() { let pathAnimation = CABasicAnimation(keyPath: "strokeEnd") pathAnimation.fromValue = 0 pathAnimation.toValue = 1 pathAnimation.duration = 2 pathAnimation.isRemovedOnCompletion = false pathAnimation.fillMode = .forwards logoLayer.add(pathAnimation, forKey: "line")}func startFillColorAnimation() { let fillColorAnimation: CABasicAnimation = CABasicAnimation(keyPath: "fillColor") fillColorAnimation.duration = 1 fillColorAnimation.beginTime = CACurrentMediaTime() + 2 fillColorAnimation.fromValue = UIColor.clear.cgColor fillColorAnimation.toValue = UIColor.red.cgColor fillColorAnimation.fillMode = .forwards fillColorAnimation.isRemovedOnCompletion = false logoLayer.add(fillColorAnimation, forKey: "fill")}func fillGradientColor(colors: [CGColor]) { let gradient = CAGradientLayer(layer: logoLayer) gradient.frame = swiftPath.bounds gradient.colors = colors //Shape Mask! let shapeMask = CAShapeLayer() shapeMask.path = swiftPath.cgPath gradient.mask = shapeMask logoLayer.addSublayer(gradient) //Start Animation startGradientAnimation(gradientLayer: gradient)}func startGradientAnimation(gradientLayer: CAGradientLayer) { let colorAnimation : CABasicAnimation = CABasicAnimation(keyPath: "colors") colorAnimation.duration = 2 colorAnimation.beginTime = CACurrentMediaTime() + 3 colorAnimation.fromValue = swiftColor colorAnimation.toValue = swiftUIColor colorAnimation.isRemovedOnCompletion = false colorAnimation.fillMode = .forwards gradientLayer.add(colorAnimation, forKey: "colors")}

All done!
Thank you for reading my article. If you find any awkward expressions, I would appreciate your advice.
I want to say that Thank you for review this post!
Divjjot Singh helps me to improve my English writing skills. Thank you!